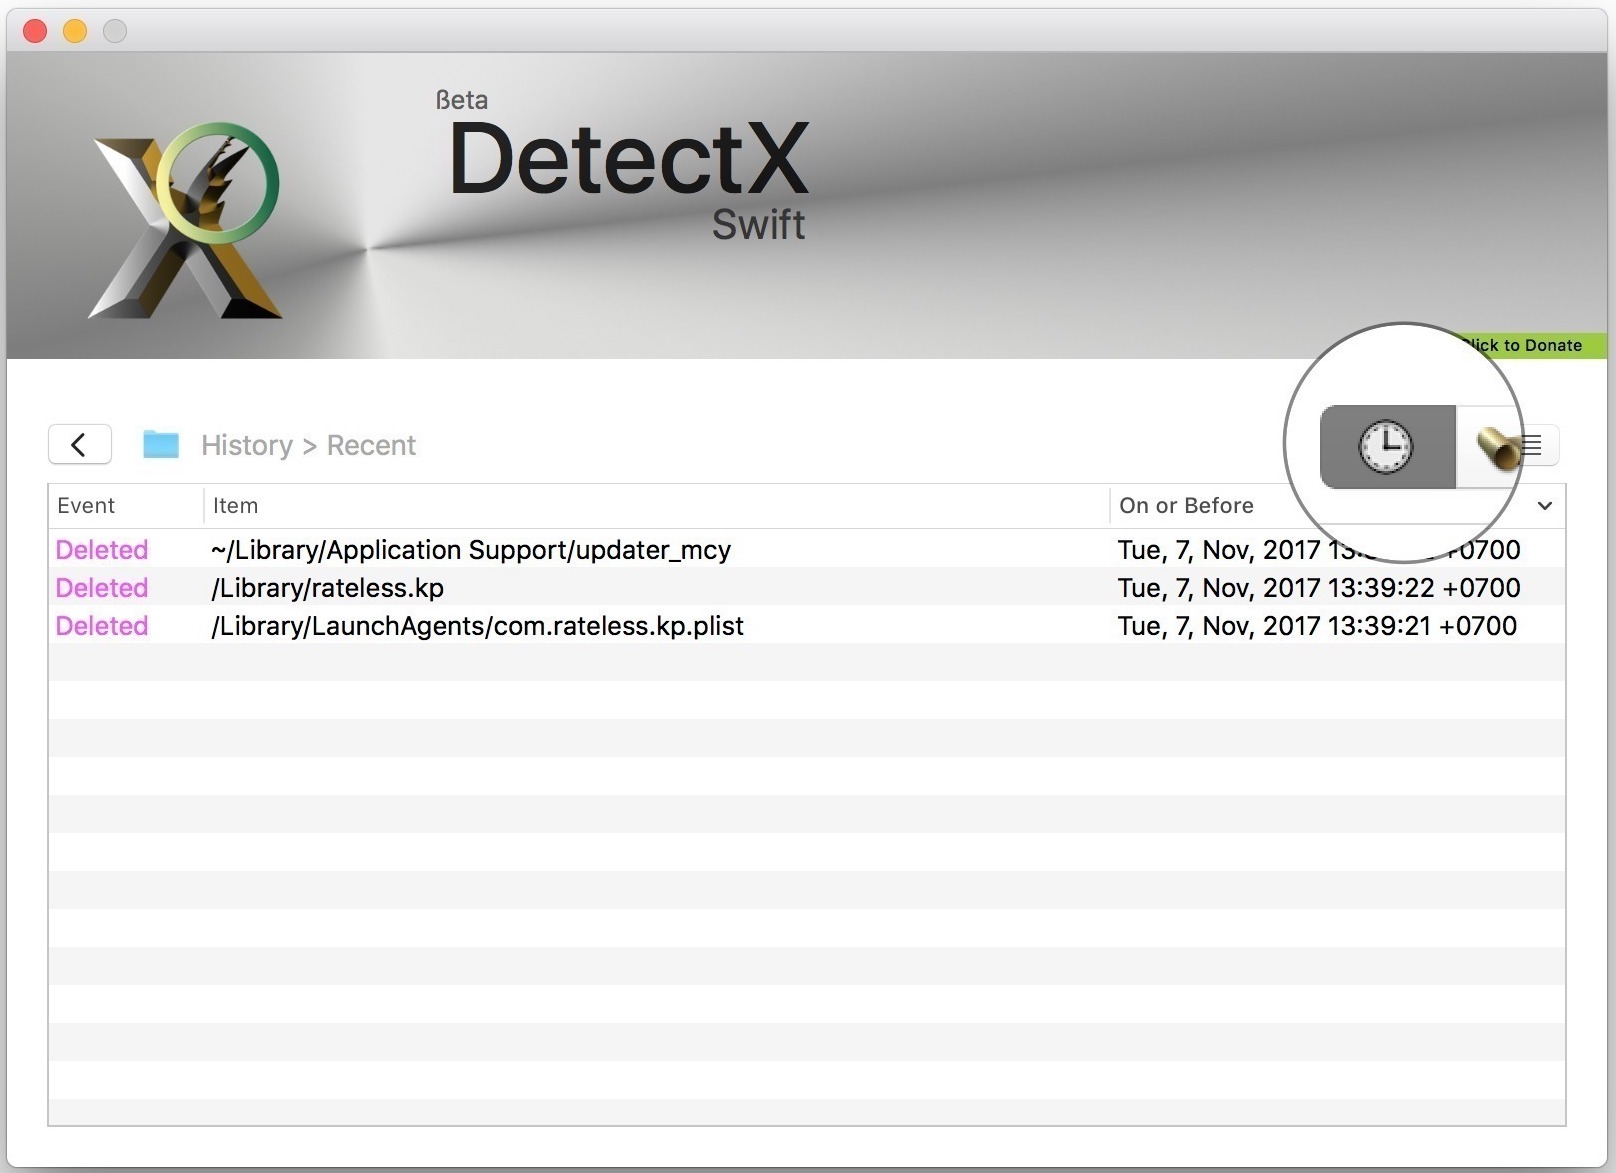
Wondered why DetectX Swift is so much faster at completing a search than competing products? Here's one of the reasons. Go to DetectX Swift Preferences and click the ‘Observer’ tab. Click the ‘Ignore Keywords’ checkbox (you need to be a registered or licensed user). Click the ‘Edit’ button, and add the launch label of each item you want to ignore in a comma-separated list. Click the ‘OK’ button to finish. DetectX Swift is an on-demand security and troubleshooting tool that uses a combination of hardcoded search definitions along with live updates and predictive heuristics to detect both known and unknown threats and issues. After a feature request and some discussion, Phil was kind enough to add a command-line interface for DetectX Swift.

“There was a problem verifying your registration details!” Oh no! 😱
Likely you’ve moved all your user files from one machine to another, or perhaps you’ve bought a new Mac or migrated data from a work machine to a personal machine, and now no matter what you do, DetectX just won’t launch. It just keeps spitting out an error message and crashing.
Solution:
On the affected machine, go to Terminal and tell DetectX to unregister.
E.g., if DetectX Swift is located in /Applications folder, triple-click the following line of code to select it and copy/paste it into the Terminal window (if the app is located elsewhere, replace “/Applications” with the full path to DetectX Swift’s parent folder). Code:
sudo /Applications/DetectX Swift.app/Contents/MacOS/DetectX Swift unregister
Press enter and supply an admin password (it’s invisible when you type it).

That should resolve the problem. Try launching the app in the usual way to confirm. If you already have a registration key you should now be able to re-enter it in the usual way.
That Didn’t Work!
If the Terminal returns the error “no such file or directory” or “command not found”, that indicates the path you supplied to DetectX is either incorrect (e.g., it’s not in your Applications folder, it’s somewhere else, like your Utilities folder) or not properly escaped.
What does that mean?
If you examine the command above, you’ll see that immediately after the word “DetectX” is a backwards slash and then a space: DetectX . That occurs twice (for both occurrences of “DetectX”).
Ordinarily, the Terminal treats a space as indicating the end of a command or argument, so we need a way to tell it that the command continues after the word “DetectX”. The backward slash is the trick to accomplish this. It “escapes” the space that occurs between the words “DetectX” and “Swift”, effectively telling the Terminal to treat “DetectX Swift” as a continuous string.
Back to your problem: if you’re seeing the error “command not found” then check whether there are any spaces anywhere in the path to DetectX, and if so, make sure you add a backslash right before each space.
sudo <escaped path to detectx> unregister
Note: do not escape the space aftersudo or the space beforeunregister. 🙂
If you’re seeing “no such file or directory” then check that DetectX really is where you’re telling the Terminal that it is. The best way to do this is to type sudo AND a space then drag-and-drop DetectX Swift from the Finder (yes, drop the actual app!) into the Terminal window.
Check to see whether the space is escaped or not (if not, escape it), then place the cursor at the end of the word .app (no trailing space) and select, copy and paste the following onto the rest of the line:
/Contents/MacOS/DetectX Swift unregister
Press enter and supply an admin password (remember, it’s invisible when you type it) to execute the command.

That Still Didn’t Work!!
If you continue to encounter difficulty, then please do the following:
i. Select and copy all the output from Terminal from attempting the above (both your input and the Terminal’s responses) and paste that into an email so I can see what’s going wrong.
ii. Send the email to Sqwarq Support.
🙂
Detectx Swift Reviews
How to Setup DetectX in Jamf Pro
1) Create a CustomTrigger Policy to Install DetectX Swift
Create a new policy in your Site and name it Install – DetectX Swift. Set the only trigger to “Custom” and enter the custom trigger “install_detectx”. Set the Frequency to “Ongoing”, since we want this policy to be available whenever we need it. If desired the policy can also be enabled for Self Service.
In the Packages tab, add your DetectX Swift package named like “NCSU-Campus-DetectX_Swiftxxxx.pkg” where xxxx is a version number and the license package named NCSU-Campus-DetectX_Swift_License.pkg. Do not enable the “Update Inventory” option in the Maintenance tab.
Set an appropriate Scope; make the policy available to all clients in the Site.
Save the policy.

2) Create a Policy to Run DetectX Swift Searches
Create a new policy and give it a suitable name, like “Run DetectX Search.”
Set the Trigger to “Recurring Check-in,” and the Frequency to “Once per week.” If your environment demands more frequent or less frequent scanning, adjust the frequency accordingly. I will, however, caution against an “Ongoing” frequency so as not to inflate your Jamf Pro database with excessive inventory reports.
In the Scripts tab, add the run-detectx-search.py script. No parameters are necessary. Since the script is the only action of the policy, the default priority of “After” is sufficient.
Set an appropriate Scope, Usually all computers in the site.
3) Interpreting the Extension Attribute
If DetectX finds potentially malicious files, they will be listed in the “DetectX Issues” Extension Attribute in each computers record in Jamf Pro.
The date of the last scan will be followed by either:
b) If the search completes but no issues are found, the Extension Attribute will be set to None.
c) If the search has not yet completed, or an issue occurred when attempting a search, the Extension Attribute will be blank.
A normal value for the DetectX Issue Extension Attribute in the Jamf Pro computer record looks like:
Detectx Review
NOTE that this information will only update during the daily inventory automatically collected by Jamf Pro.
To force update use
/usr/local/bin/jamf recon
The information can also be confirmed by viewing the contents of the local file:
/Library/Application Support/JAMF/Addons/DetectX/results.json
More details on this process can be found at:
Detectx Swift Mac Download
and
